Media Suite Tutorial: How to export your data outside the Media Suite
Tutorial description, case, and objectives
Sometimes you want to keep, save, and share your data stored in the Media Suite outside the online environment. As your work in the Media Suite is tied to a (temporary) university account, keeping your data in the environment might not be attractive for the long term; online environments can be unstable (think of bugs), may change and, in a more advanced stage of a data-driven research project, you might want to clean and link your data to other datasets. This tutorial therefore covers sharing your created annotations outside the CLARIAH Media Suite.
In the CLARIAH Media Suite, you can export your data, such as annotations and bookmarks, as a JSON file. A JSON file is a format for exchanging data between two different systems in a standardised, machine-readable manner.* JSON files, with knowledge of how to use them in a programming, can be used to extract quantitative findings from the dataset. It also enables merging and enhancing datasets. This means that even if you’re not planning on continuing with your research, others might still benefit from your dataset if you store it in an accessible place. However, there is one downside to the current version of the CLARIAH Media Suite: it does not yet have the option to download a JSON file onto your computer or laptop directly. Therefore, sharing your data outside the Media Suite requires some additional steps. This tutorial covers the steps on how to transfer data from the Media Suite into a JSON file.
*James Walker, “What is a JSON and how do you use it?”, How-To-Geek, last updated on August 12th, 2022, accessed on January 5th, 2024, https://www.howtogeek.com/devops/what-is-json-and-how-do-you-use-it/.
Objectives Upon completing this tutorial, you will know how to use the Media Suite for transferring your annotations into a JSON file. The tutorial uses example annotations and bookmarks of Het Amsterdams Stadsjournaal (ASJ), a Dutch political film collective active in the 1970s and 1980s. These decades mark a time in Dutch film history when film collectives emerged as a reaction to the mainstream cinema circuit. There is little information about these film collectives and the corresponding landscape at the time, but the interest in this topic has been steadily growing in the last years and there are currently multiple (research) projects going on in various (film) archives and universities. Case studies like these are a great example of how sharing datasets could be used to aid future research; in exploring new research domains, data is being gathered but it is often not clear how data will become useful in later stages of the research. Being able to share your datasets therefore helps other researchers to build upon your research. A JSON file is a great way to export your data, as it can be easily exported into other systems perhaps yet unknown at the moment.
Types and levels of teaching and research This tutorial supports sharing and contextualising annotations and research data. In general, the tutorial may be used in any field where building, annotating, and linking corpora consisting of different media items are necessary skills, such as qualitative analysis research.
Prerequisites This tutorial is suited for advanced users having experience in working with the CLARIAH Media Suite. It is also recommended to be familiar with the annotation workflow before continuing with this tutorial. If you’re not familiar with this, you can consult the tutorial on this topic here .
How to generate a JSON file and make it human-readable
Generating a JSON file from the dataset in the CLARIAH Media Suite
-
Go to your user projects in your workspace and click on the project you want to export data from.
-
Depending on what you want to export, you can click immediately on the project or click on the project and tick the boxes in front of the bookmarks or annotations you want to export, see screenshot 1:
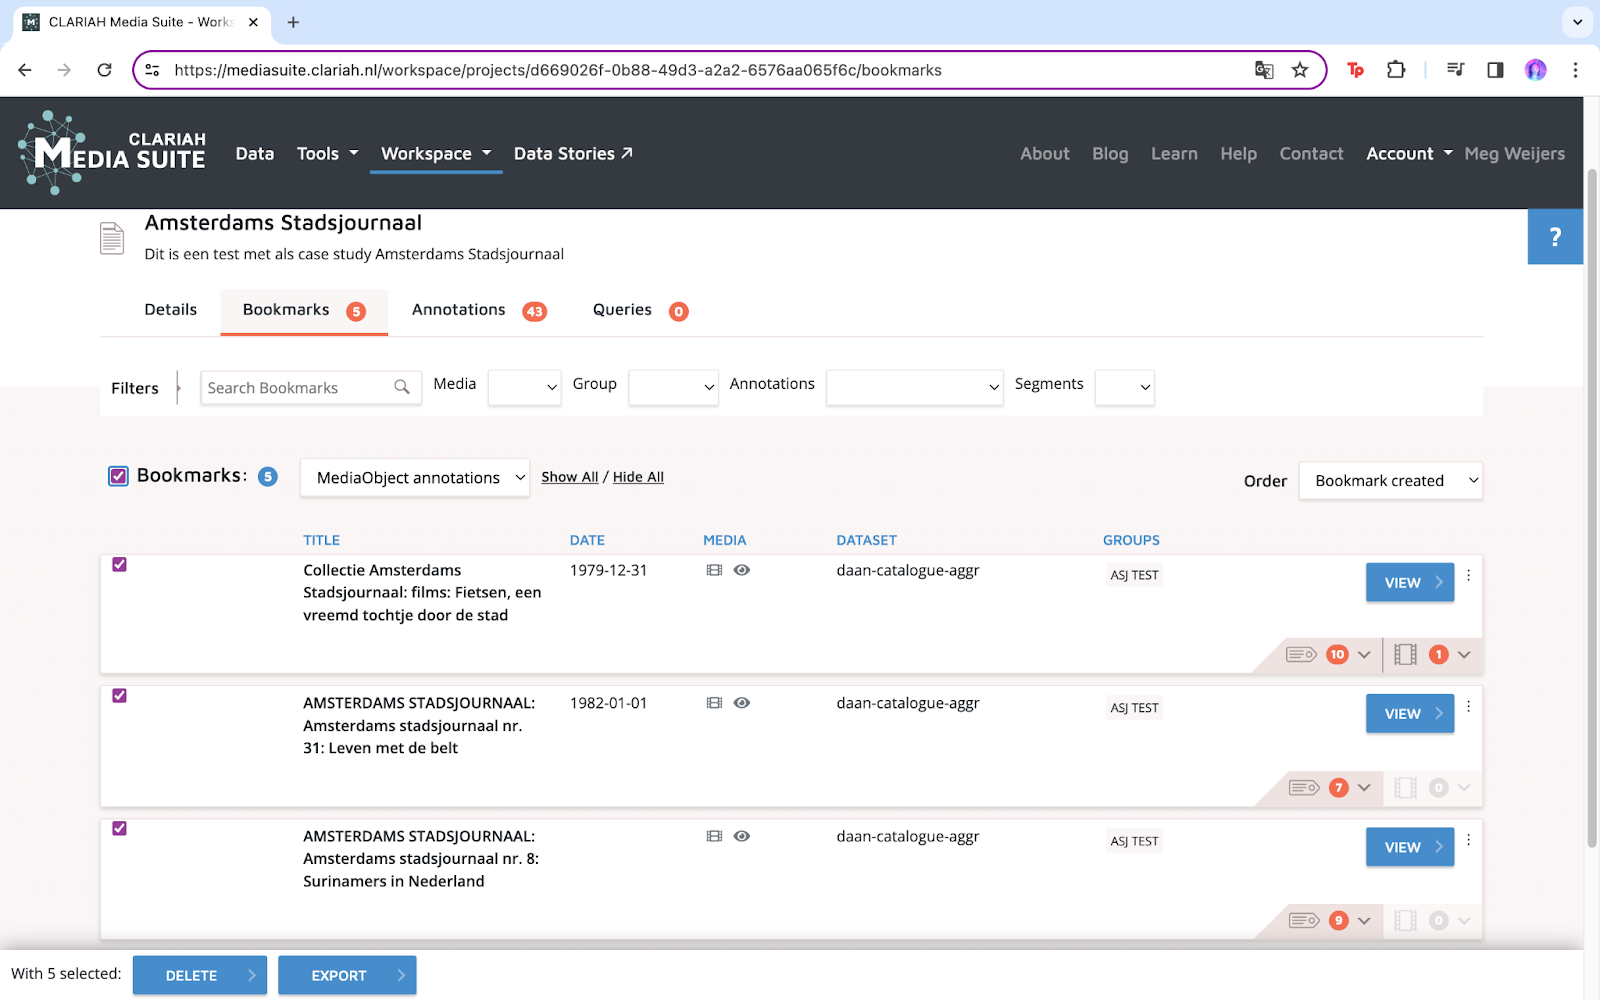
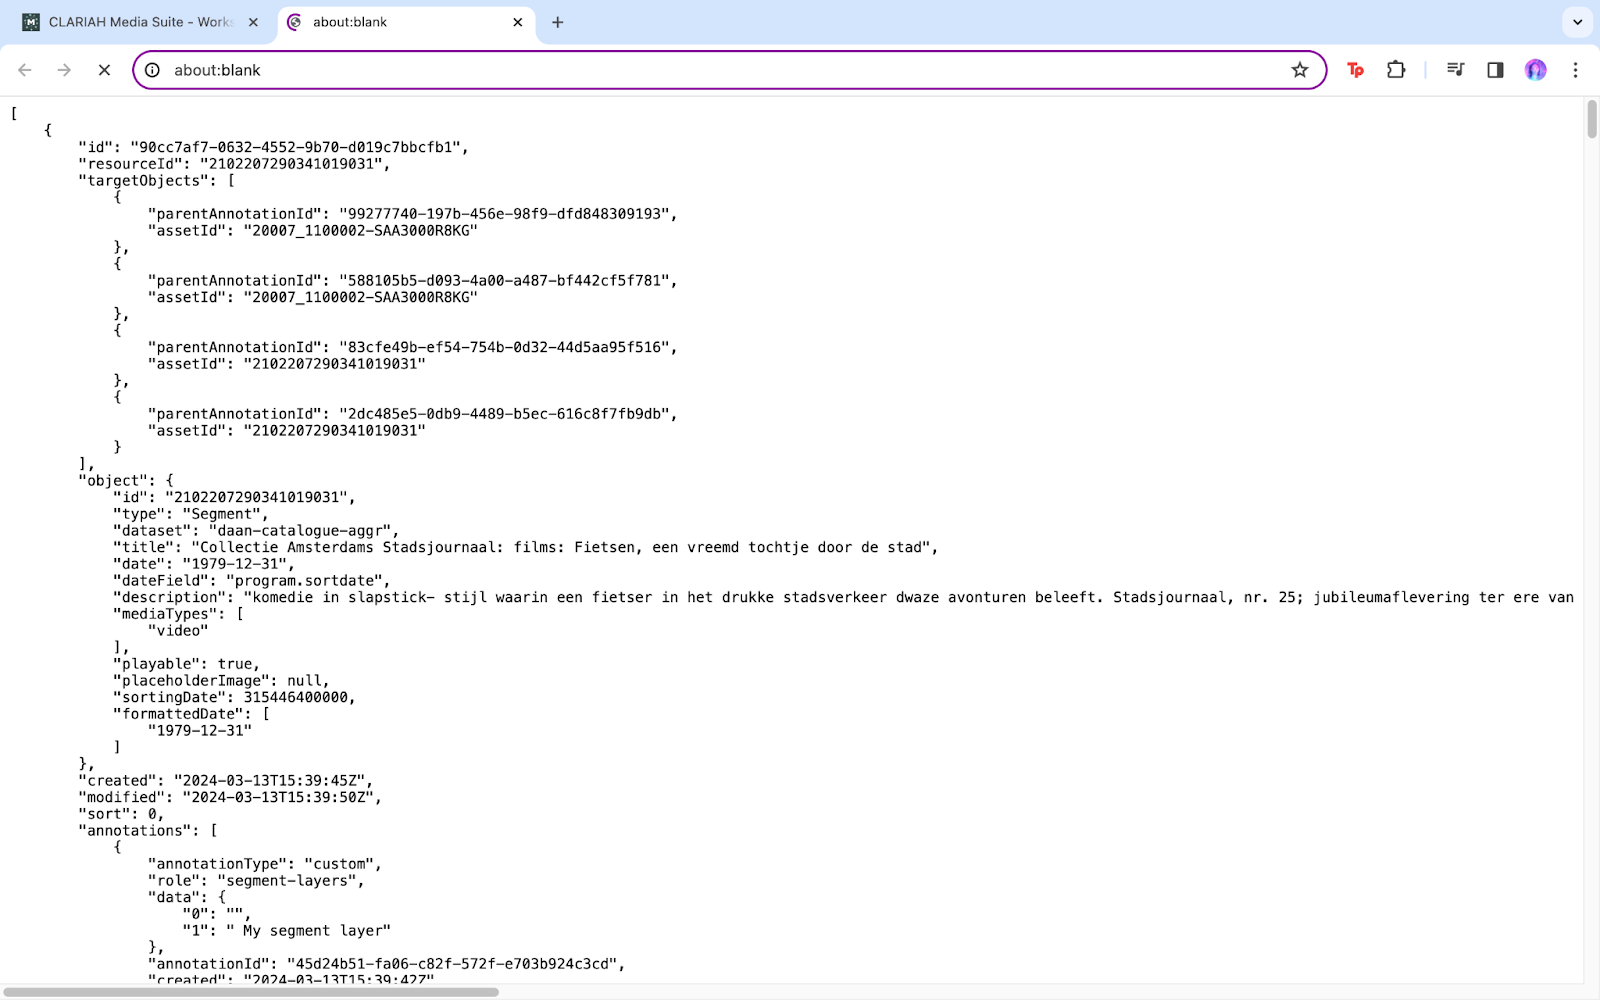
- On the bottom of the screen, you can now choose between “Delete” and “Export”. When clicking on “Export”, a new tab will appear containing a JSON data (data written in a certain format so it becomes machine-readable). See screenshot 2:
Creating a JSON file on your computer As mentioned in the introduction, it is not (yet) possible to export a JSON-File directly into your computer, and the tab that appeared at the end of the previous step is not yet a JSON file. To achieve this, you first need to create a JSON file yourself.
-
Go to “Terminal” (MacOS) or “Windows Terminal” (Windows) on your computer. A (Windows) Terminal is an application on your computer using the operating system without the system’s interface. This enables you to do more specific tasks such as creating an empty JSON file.
-
Type in “Touch” following a name for your file ending with .json.
-
Click on Save or use cmd + S. You can now find an empty JSON file in your files.
-
Click on the file and open it with “Texteditor” (MacOS), “Notepad” or “Wordpad” (both Windows).
-
Copy the data, paste it into the editor and click on save or use cmd + S. See screenshot 3:
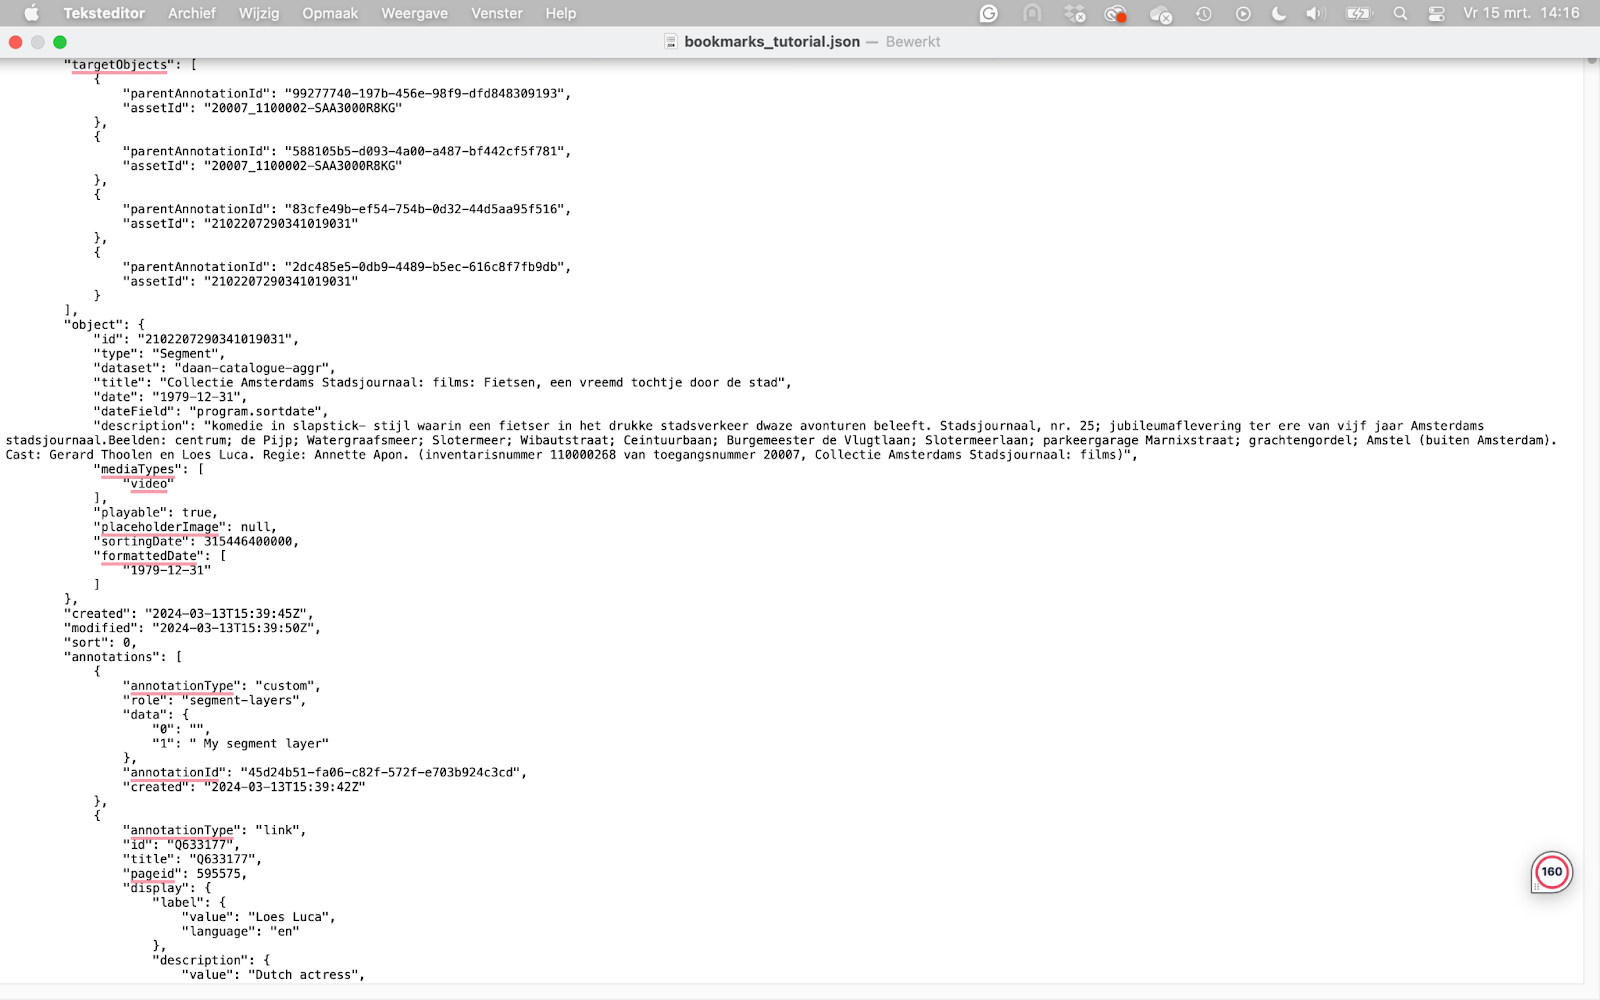
- You have now saved the JSON scheme in a JSON file, well done!
If you use Windows, you can create a JSON file another way:
-
Go to Notepad and create a file.
-
Copy the data, paste it into Notepad and click on “Save as”
-
Choose “All documents” from the “Save as” dropdown, and type in
.json in “File name”.
Making the JSON file better readable
A JSON file is machine-readable, meaning that the schema in which your data is now being stored is hard to read for you and others. Assuming that not everyone consulting this tutorial has the programming skills to transfer the generated JSON file into a human-readable format, you can go to the JSON to Table Viewer (click here). Even though you might not use the JSON scheme yourself, it is advisable to keep the JSON-file as others might prefer to use this file. Please note to check the sensitivity of your data. The website we recommend does not save your data, but it’s nonetheless important to stay cautious with ethically sensitive data and take action accordingly.
-
Go to the JSON to Table Viewer: https://www.anyjson.in/json-to-table .
-
Copy the JSON-schema from your file and paste it in the black square.
-
Click on “Convert to Table”.
-
You now see the table, however, it is not possible to download this table. It is only viewable on the website.